
Social Event Setup
Create a Social Event
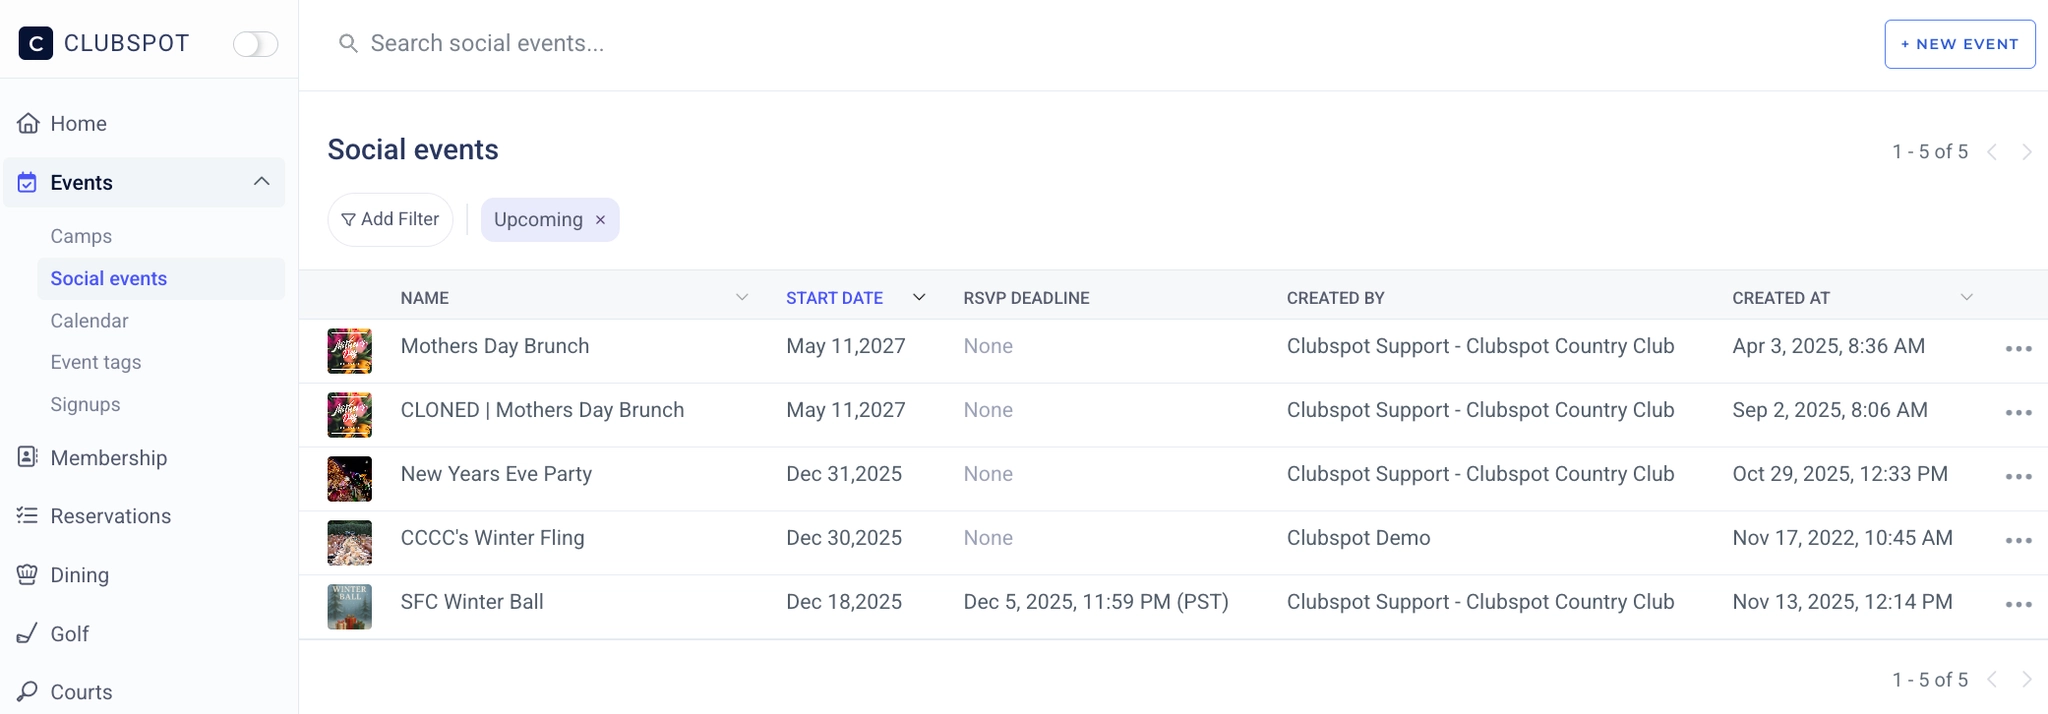
Go to the Events tab on your club dashboard and click Social Events. Next, go to the top of the page and click “+ new event”. You will be prompted to name your event and select a date. Please note that by default, the list of social events is pre-filtered to show only the upcoming events. Click the x next to the ‘upcoming’ filter to remove it and view all past events.
Manage the Event Settings
Administrators
You can give specific people access to the event by adding their email address under Settings > Administrators and then “+New Admin”. This is not necessary for anyone who is already a full or social event admin in your Clubspot account, but recommended for sharing access to only this specific event with a user. This is most likely a volunteer or committee member working on one event.
Basic Details
Now that your event has been created, you can manage all of the settings and details within your club dashboard. Go to the Settings tab and click on Basic Details.
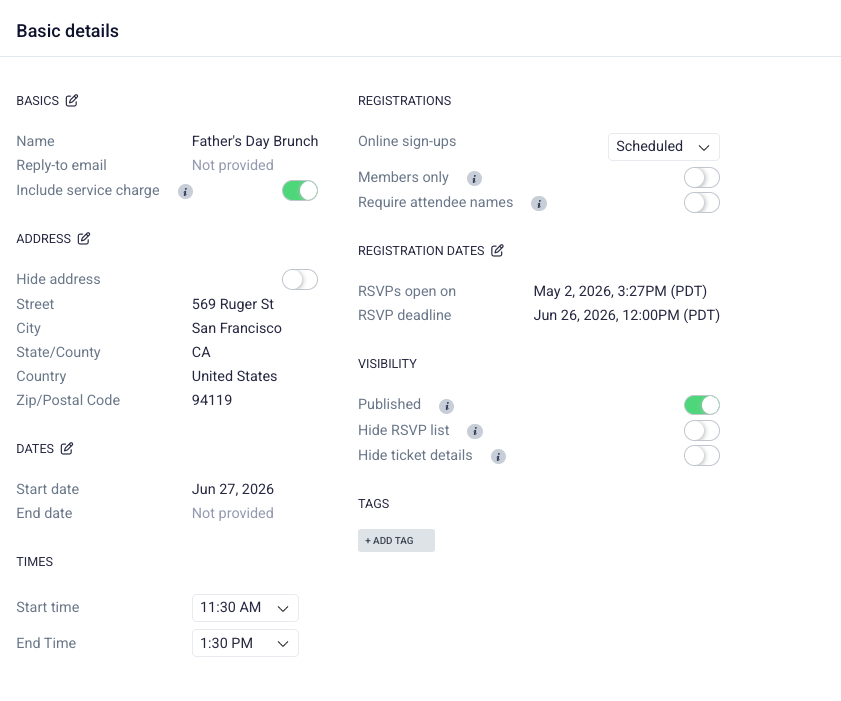
Here you can configure the framework for your event, including the start/end time, membership requirements, and cancellation rules. You can insert an image and description to be displayed on the event page. Once you are ready to have people register for the event, change the Online RSVPs status to Open (or pre-schedule the RSVP open-on date!). If you want your Social Event to show up on the Calendar or Events List on your website powered by Clubspot, you must turn on the Published toggle at the top of your basic details.
Toggling on ‘members only’ ensures that the user logs in with their membership credentials before purchasing a ticket. It’s also possible to drill down allow only certain membership types to register for this event:

If the “members only ” toggle is turned ON, members can still add guest tickets to their reservation, but the order must be placed by a member.
The Basic Details page is also where you have the ability to apply a default service charge for social events. Use the toggle on individual social events to turn the charge on/off for any particular event.
If you would like to enable the ability to apply a service charge to your social event, please contact support@theclubspot.com for setup.
Inbound Payments
To choose the specific payment methods you want to enable for attendees, toggle the various payment methods on/off. You can also select between an upfront or deferred payment model. By default, the up-front payment model is selected, meaning participants will be required to pay in full at the time of registration. Click here to read more about the deferred payment model.
Ticket Options/Entry Caps
To create different ticket options, go to Settings and click on Ticket Types. Our platform automatically generates a Standard Ticket for each event, but we would recommend you rename it to more accurately reflect the name of your event or price point. If the ticket is set to “members only” then the ticket may not be used for a guest, even when purchased by a member.
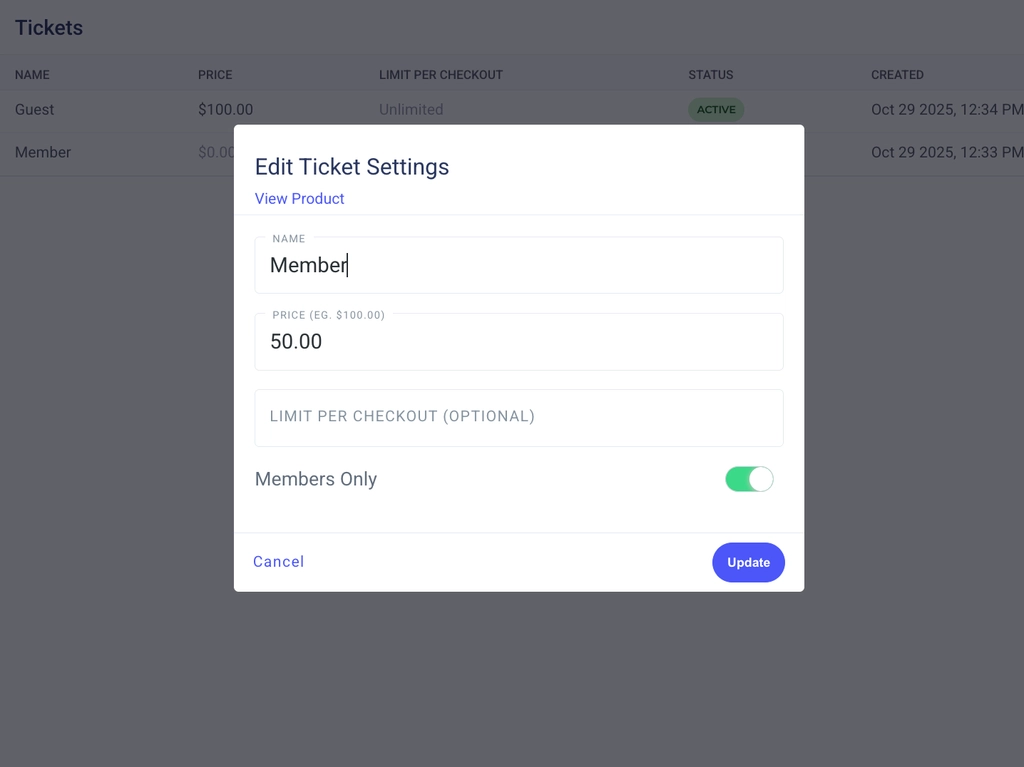
To delete a ticket option, click on the three dots to the right of the ticket information and choose archive.
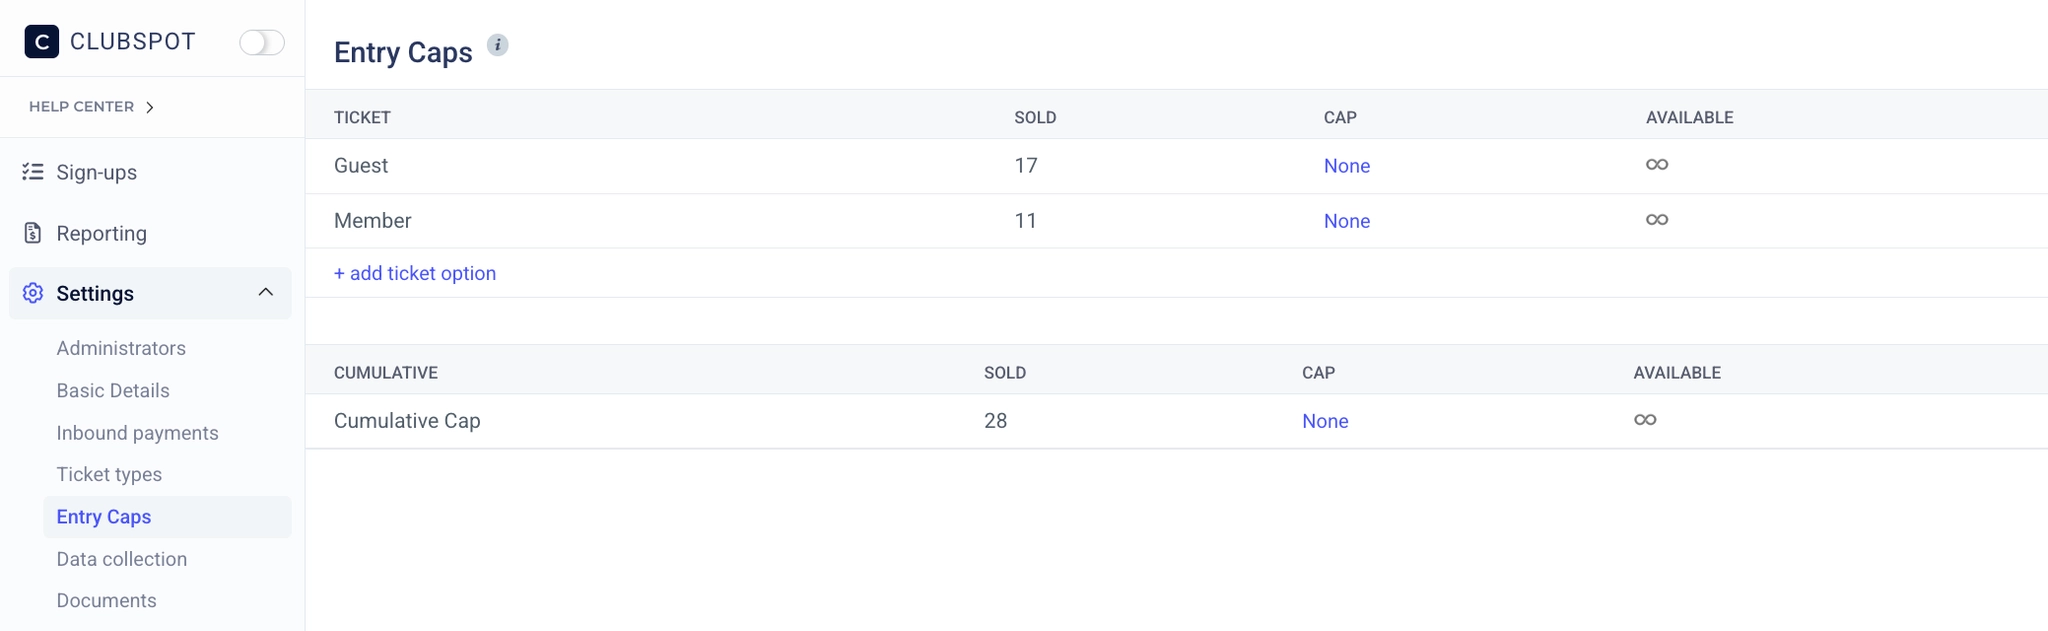
Click on Entry Caps under Settings to limit the number of tickets available for each event you are hosting. By clicking the blue hyperlink under CAP, you can also enter a cumulative cap that limits the number of tickets that can be sold across all ticket types. Clubspot will automatically close the registration to your event once your event cap has been reached. Here you can also view how many of each ticket have sold and are still available.
Data Collection
This allows you to create a custom question that will be asked during the event registration, outside of basic details of name, email, and phone number.
For example, if you want to ask about dietary restrictions you can add a question here for participants to complete with registration.
To add a question, click “+custom field” and enter the question. You can then create this as a text field, number, drop-down list, multi-select, text response paragraph, or file upload. You can also make this a required or optional question by clicking the green button. The default is to make this required.
Once the question is created, you can choose which ticket types it should apply to. If there are options i.e. dropdown list or multi-select you will need to create these options for guests to select from. To do so, click into the question, Options tab, and then click “+Custom Field” to enter the answers/options for the question posed to participants.
Here, you also have the ability to adjust the price for each response. For example, if the available options are choosing vegetarian or meat for dinner, you can make one meal option more expensive than the other.
Documents
Under Settings > Documents you can you can choose to upload a PDF of event-specific materials. For example, save the date, menus, etc. To add a doc, click “+Document” and upload a doc.
E-Signatures
This is a feature to allow for a waiver to be signed. For example for an event a COVID awareness waiver or content form to attend the event. To upload a new waiver, click into Templates and then “+Template” to upload a PDF which will be converted into an electronic document for participants to complete online. Once signed by participants, they will be saved under Contracts for future reference or export.
Communication
This allows you to send emails or text messages to RSVP participants. Registrants will automatically receive a default confirmation email, however, if you would like to send a custom registration email with other information than you can create one by clicking Communication>Confirmation Emails>Custom and create your email.
Links
These are direct links to the Events Page and Registration page for your event. The Event Page includes a “sign up now” link to the registration page - this is recommended to be used for any email communications so guests can see the full event details prior to registration. We also recommend testing out your RSVP flow for your event participants prior to publishing your event. You can use the same “sign up now” link to get a better understanding of what your members and guests will experience while registering for the event. You can then archive the registration under RSVPs>Sign Ups by clicking on the name, then on the three dots, and archive registration.
Our social events have a new look and feel. We now present the event date, name, and details above the event flyer or image. Below the image you’ll find the option to see attendees from your membership, see other attendees who have RSVP’d, and add new registrations.
Member-Facing Sign-up Experience
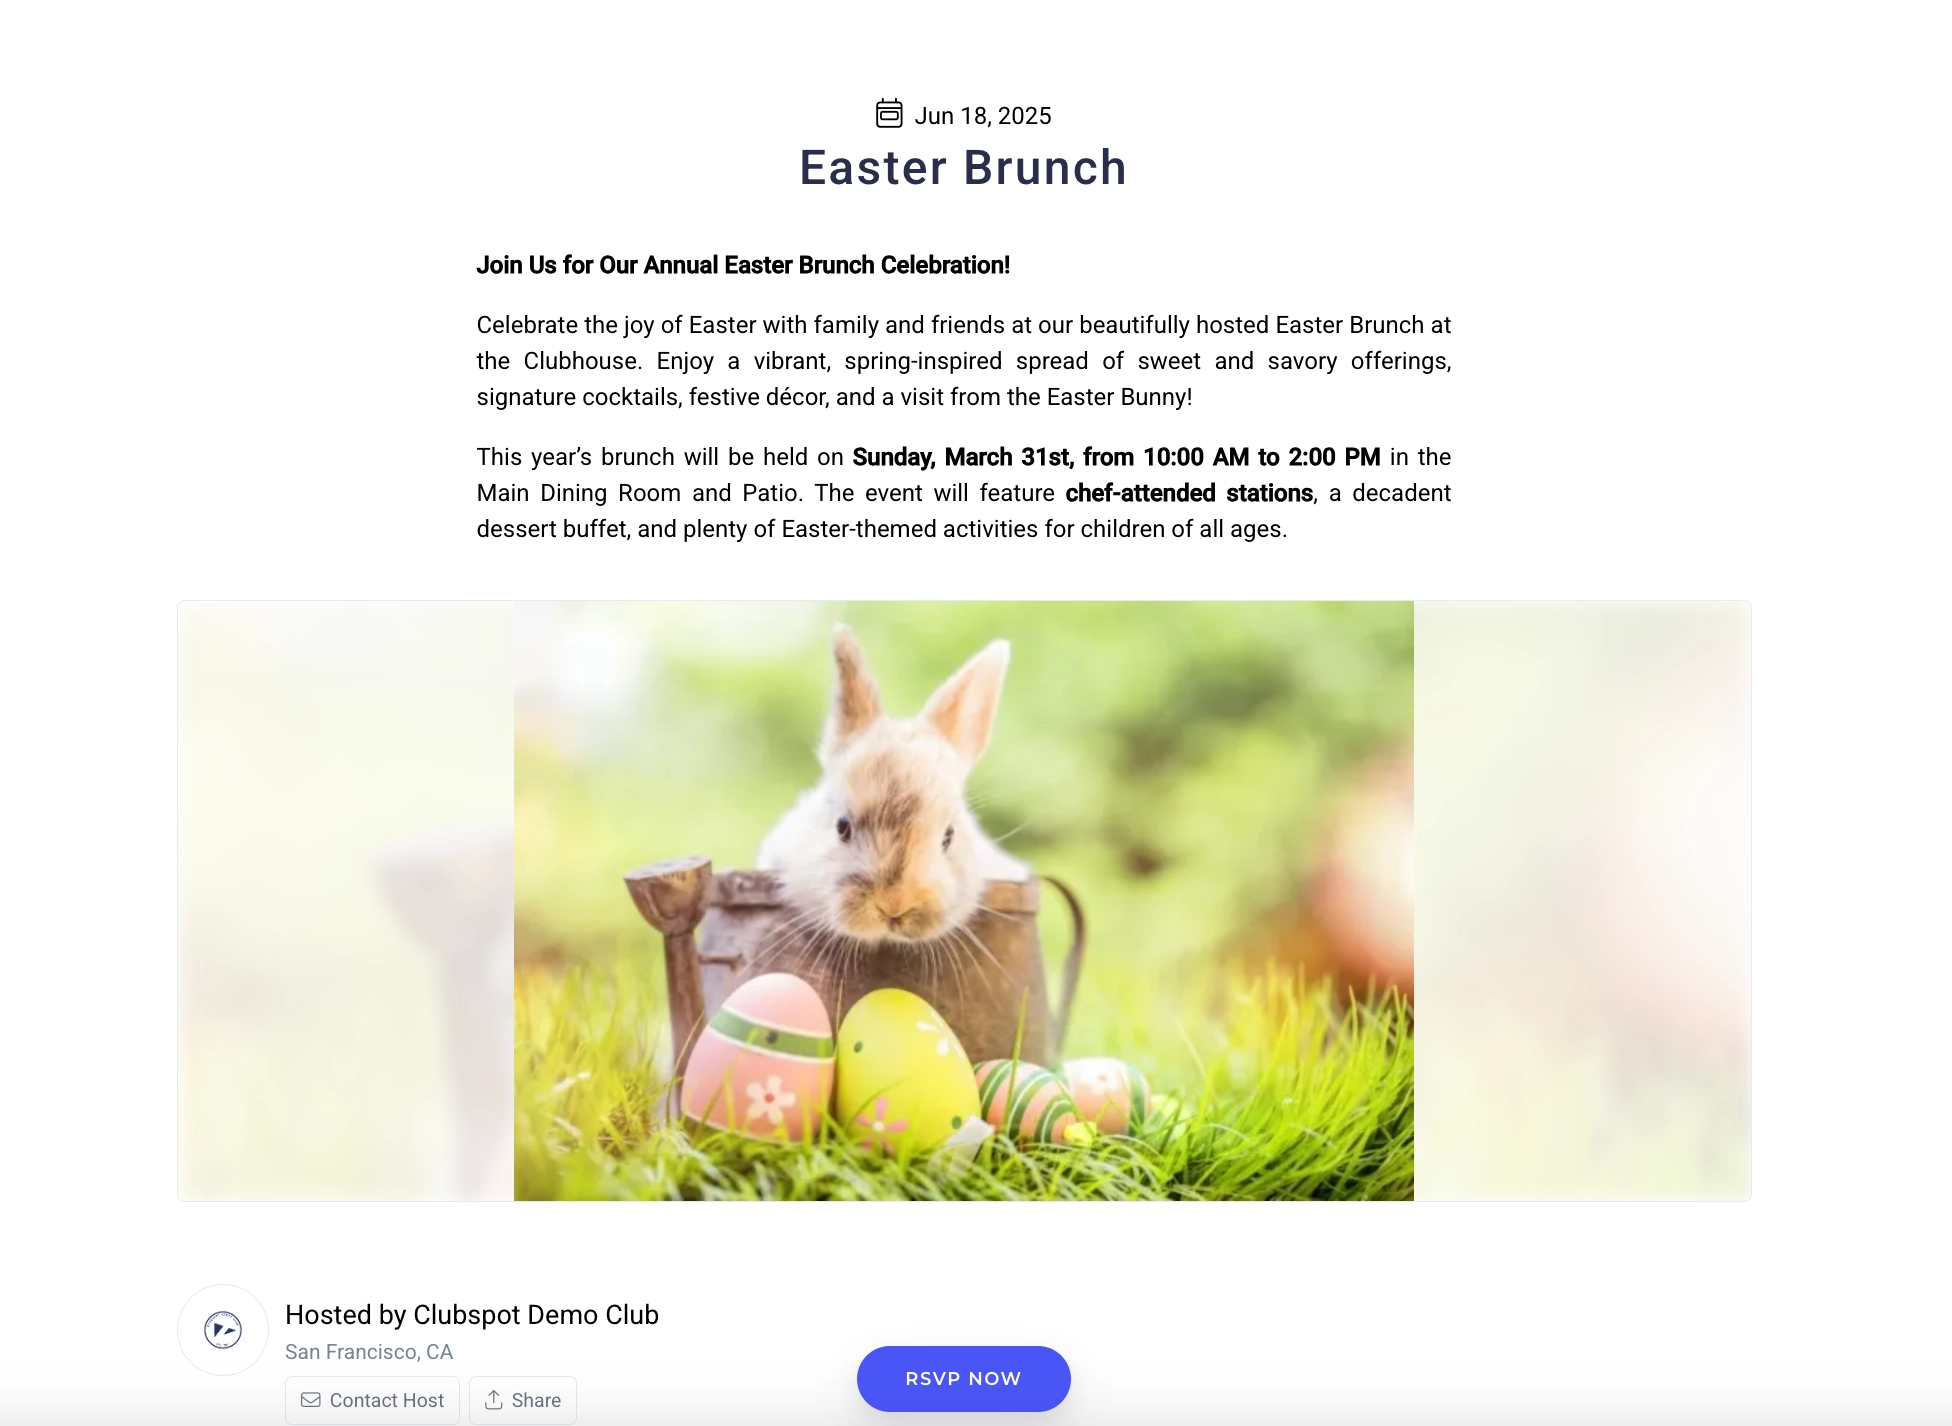
The member can access your social event on the calendar/event list if you’ve set the “publish” toggle to true on the Basic Details page. Otherwise, you can share a direct URL to the event page in an email or on social media. Once they’ve landed on this page, they’ll click the blue “RSVP NOW” button to proceed with their registration.