
Income Account Mapping
To ensure that your chart of account accurately reflects the sales taking place in Clubspot you need to perform account mapping. Mapping can take place at several levels, ranging from the most general default level to the most specific product level.
Accounting Classes can also be added to products and subtypes, as well as point-of-sale locations and events.
Hierarchy
Products can inherit account mapping rules from multiple places. The most general is found under Reporting —> Accounting Defaults. Product Subtypes are more targeted and are the best way to assign specific account mapping to large groups of products - these rules will override the accounting defaults. The most granular account mapping is found at the individual product level - this will override accounting default and subtype rules.
Subtypes
Subtypes are the most efficient way to group and map products, and they ensure that the correct tax and accounting rules get applied to new products. To get started, head to Products —> Subtypes. By default, Clubspot provides the 6 most-used subtypes: Beer, Liquor, Wine, Food, Beverage, and Merchandise. To add a new subtype, hit the +Subtype button in the upper right-hand corner. As a general rule of thumb, clubs should set up a subtype for each major income account that has many products.
To change the accounting rules for a subtype, click into the desired subtype and head to the Accounting tab. You will then see the account mapping array. Clicking on any of these accounts will populate a searchable list of your chart of accounts.
Individual subtypes may not be needed for income accounts that have very few products assigned (like initiation fees, etc.) or products that can be easily mapped via Accounting Defaults.
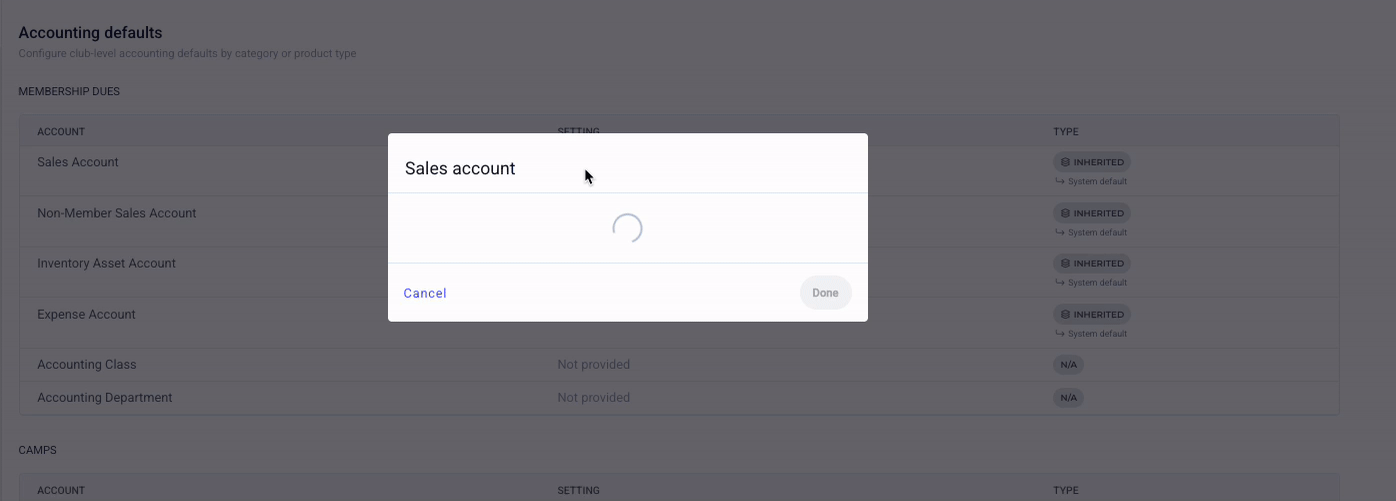
Accounting Defaults
We recommend starting with the broadest possible accounting categories. To get started, navigate to Reporting —> Accounting Defaults. Here you will be able to map the most general categories to your chart of accounts. Don’t worry if this level is not specific enough for your chart of accounts, as this is the most general level of mapping, serving as a default for a handful of different revenue categories (eg. Membership Dues, F&B, Regattas, Social Events, and more).
To map an account, simply click into the desired account type, and then select the appropriate mapping to your chart of accounts. Transactions of that type will default to that account going forward. Again, you can override this setting with more granular mappings at the product, event, or POS location level (more on this below).
A new product that is created will automatically pick up on its default if that product is not later mapped to a different account.
Mapping Products
To view your product-to-account mapping, you can navigate to Products —> Account mapping.
From here, you can see all of your products laid out, the account those products are mapped to, and you can update that mapping for multiple products in bulk.
A product can be assigned an account either by inheriting it from the defaults or by having it set custom for that item. To make updates, check the box of the product or products you would like to map and then click Edit in the top right. This will let you select the account to map to. Assigning a custom account at the product level will always override any default mapping.
Account mapping can also be accessed individually within a given product’s details. To view this, select the product in the Products section and set the COA mapping in the Tax, Stock, and Accounting section.
Location Defaults
Some clubs require that income account for a product depend on the context or location of its sale. If that is the case, you can set the account mapping at the POS location level. This can also be an easier way to default products rather than mapping each one individually. To do so, navigate to the Point of Sale —> Locations and then select the location in question. From the tax and accounting section, you can add the default account for sales through that location.
Location mappings are defaults. That means that a product with a custom mapping will override the location default that it is sold at. If you want the sales from a location to apply to that location’s account, the products sold there need to set to type: inherited.
Class Mapping
Clubspot is compatible with Quickbooks Class Tracking. To enable Classes, enter the your classes under Reporting —> Classes. Accounting Class can be mapped anywhere that the “Accounting” array appears (under defaults, products, subtypes, POS locations, etc).
Accounting classes are typically used to separate income for individual events or POS locations. Classes can be attached to camps, regattas, and social events in their respective dashboards under Reporting —> Accounting. POS locations can be assigned classes under Point of Sale —> Locations —> Your Location —> Accounting. All revenue that flows through these channels will be classed to their assigned class.